Wrapping Coils Step by Step
Do you want to wrap your own coils? Here are both the steps you need to take and the materials you need to acquire.
Here’s how to wrap coils step by step…
What Do We Need to Wrap Coils?
First, information is provided about the materials you need to acquire. The question of what we need to wrap coils is answered. It will not be possible to wrap coils without obtaining the materials listed below.
What you need to wrap coils:
Selected RDA
OHM reader
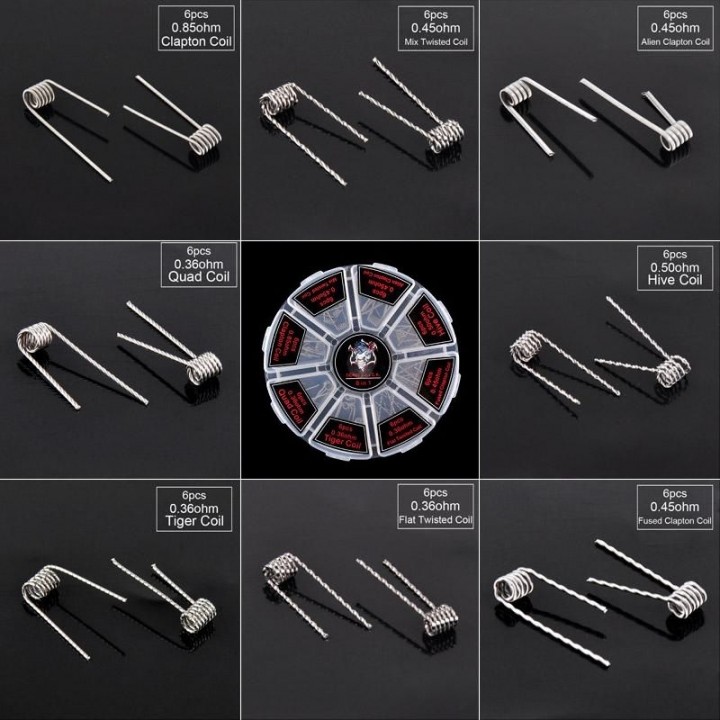
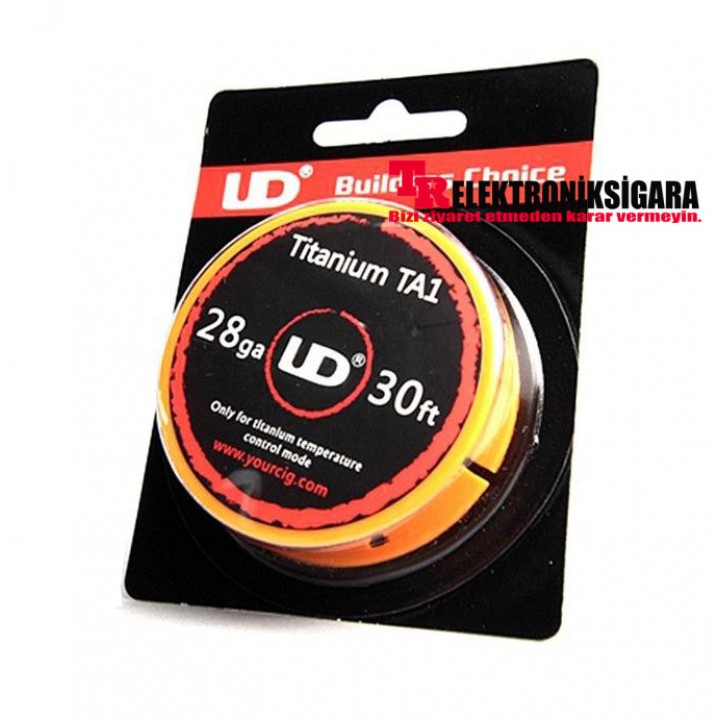
Wire for wrapping: Kanthal or Nichrome (28 ga Kanthal needed)
Small blue 2mm screwdriver or 2mm drill bit
Additional small screwdriver or Allen key that fits your RDA's screws
Scissors
Tweezers
Small butane or propane torch
E-liquid
Cotton material: Organic cotton
Small wire cutters or nail clippers
Before Coil Wrapping
Before you begin, it's recommended to proceed with caution, paying attention to what you need to consider when wrapping coils. If you don't have an OHM reader, don't attempt to build your own coils or wrap them. Make sure you have all the necessary materials. Before you start wrapping coils, you need to know how many wraps your coil will need for your desired resistance. Various tools are available for this.
Coil wrapping recommendations:
Wire size 28 ga
Coil type: single
Target resistance 1.2 ohm
Target inner coil diameter 2 mm
Leg length 4 mm
There are online tools that tell you exactly how many turns to make by adjusting other variables. For the given information, a 1.2 ohm single coil requires 8 full wraps.
Wire Oxidation:
You need to cut a piece of Kanthal wire. Although 3 inches (approximately 8 cm) is large enough, it is recommended for beginners to cut a bit more. It is suggested to cut a 4-5 inch (12-13 cm) piece of wire. You will need to hold the end of your wire with tweezers, pliers, forceps, etc. Gently heat the Kanthal wire with a propane torch until it turns orange. Give the wire a minute to cool. Let the wire cool down after thoroughly heating it. Oxidizing the wire will make it less springy and easier to work with.
Coil Wrapping
Yes, after these steps, you will move on to the coil wrapping stage. At this stage, you need tweezers, a screwdriver, and wire. You need to ensure the wire stays on the screwdriver and doesn't slip. Make sure it stays close to the handle of the screwdriver. Apply pressure with your thumb to the end of the wire and rest it on the screwdriver. Then, there will be 8 wraps. You will start wrapping your wire around the screwdriver. You need to do your best to keep the coils as close to each other as possible without overlapping. You need to pay attention to wrapping tightly to eliminate as much looseness as possible.
After 8 wraps, both ends of the wire should be in the same direction. This is because it will make it easier to seat in the deck. You must count and check the number of wraps. For the coil wrapping stage, you can directly push the wrapped coil wire towards the screwdriver handle with your fingers to fully compress it; act in a way that removes any looseness here.
Installing the Coil
During the coil installation stage, you can gently loosen the screws on the posts of the deck where you will place your wrapped wire. It might be difficult to reseat the screws if you remove them completely. You are asked to position the wire wrapped on the tip of the screwdriver exactly in the middle of the deck. Simply pass both ends of the wire through the holes in the posts. Then, you will tighten the screws here. However, they should not be too tight, just a normal tightness. Over-tightened screws can cause the wire to cut and break. Afterwards, the excess parts will need to be trimmed.
Measuring the Coil
You will measure the coil by picking up your atomizer and attaching it to the resistance reader. A value close to your target resistance of 1.2 ohm should be measured. However, it is quite normal for coils to have a slight variation or variance in resistance of up to 0.2 ohm, so the process should proceed accordingly. If the appropriate resistance for the coil is shown as 0.2 ohm, you are ready to move on to the next step. Along with this, if your ohm reader is not reading your coil or there is a problem that needs correction with a resistance greater than 0.2 ohm from your target resistance, there is an issue that needs to be addressed. Usually, problems are simple and can be easily fixed.
Perform the checks given below…
Check that the screws on your RDA are tight.
You need to check the coils to ensure they are not touching the posts of the DECK.
You need to ensure that your atomizer is fully screwed onto the ohm reader.
Once these steps are complete, the problem should be resolved. If not, it is recommended to try another coil.
Testing the Coil & Dry Burning
After installing the coil into the RDA, you need to connect it to your mod. You can then perform the process called dry burning. This stage will involve turning up the temperature level on your mod, firing it, and dry burning. The dry burning process should be done correctly, starting from the center and moving outwards towards the ends.
Wicking the Coil (Electronic Cigarette Cotton Replacement)
This stage is the wicking, or cotton replacement, stage. For best results, it is recommended to use quality cotton. We consider organic cotton to provide superior flavor. You will need a piece of cotton large enough to fit snugly inside your coil, leaving about half an inch (1-1.5 cm) on both sides. Please be careful when cutting the cotton. You need a large piece of cotton that fits snugly inside. You can make it easier to feed by wetting the ends. Push the cut cotton into the center of the coil through the hole and pull it out the other side.
If it doesn't pass through easily, the cotton might have been cut too large. Also, the wick might be loose or sliding inside the coil. After fully passing the wick through, do not completely cut off the parts hanging outside the coil. Drape the wicks overflowing from the edge of the coil towards the deck, but complete the process without allowing them to overflow from the deck. Adjust the length so that it stays within the deck. This will allow for more efficient absorption of e-liquid.
Re-testing Phase
After the coils and cotton are ready, slightly bent cotton can cause problems. For this reason, the cotton should be re-checked due to the possibility of tangling. You should re-check the resistance on the OHM meter. Being aware that your resistance may have changed by +/- 0.2 ohms, this can be normalized. Once everything is checked, you will be faster to move on to the next step. If there is a problem, it is recommended to check the steps without moving on to other steps until the problem is found.
Final Step: Filling with E-liquid
If you are sure you have successfully built a single coil of 1.2 ohms, fill it with your favorite e-liquid and apply it to your mod. This will be the stage to bring it to the temperature level and enjoy the vapor. After the wrapping process, you will enjoy following the answer to the question of how to wrap a coil. There will be no problems.
Important Note on Coil Wrapping
Device hardware, battery limits, and usage conditions should be known for all materials. It is best to start by familiarizing yourself with the materials. You should never attempt resistances that exceed a safe operating capacity. By reviewing battery selection content related to this, you can ensure the wrapping process is carried out completely professionally. It is recommended to be careful as coils installed and fired on your device can generate high temperatures. If you do not have an OHM reader, do not attempt to rebuild your coils for your safety. Considering safety recommendations and acting within the scope of what needs to be considered when wrapping coils, wrap them without problems.